Jepson Pottery Blog
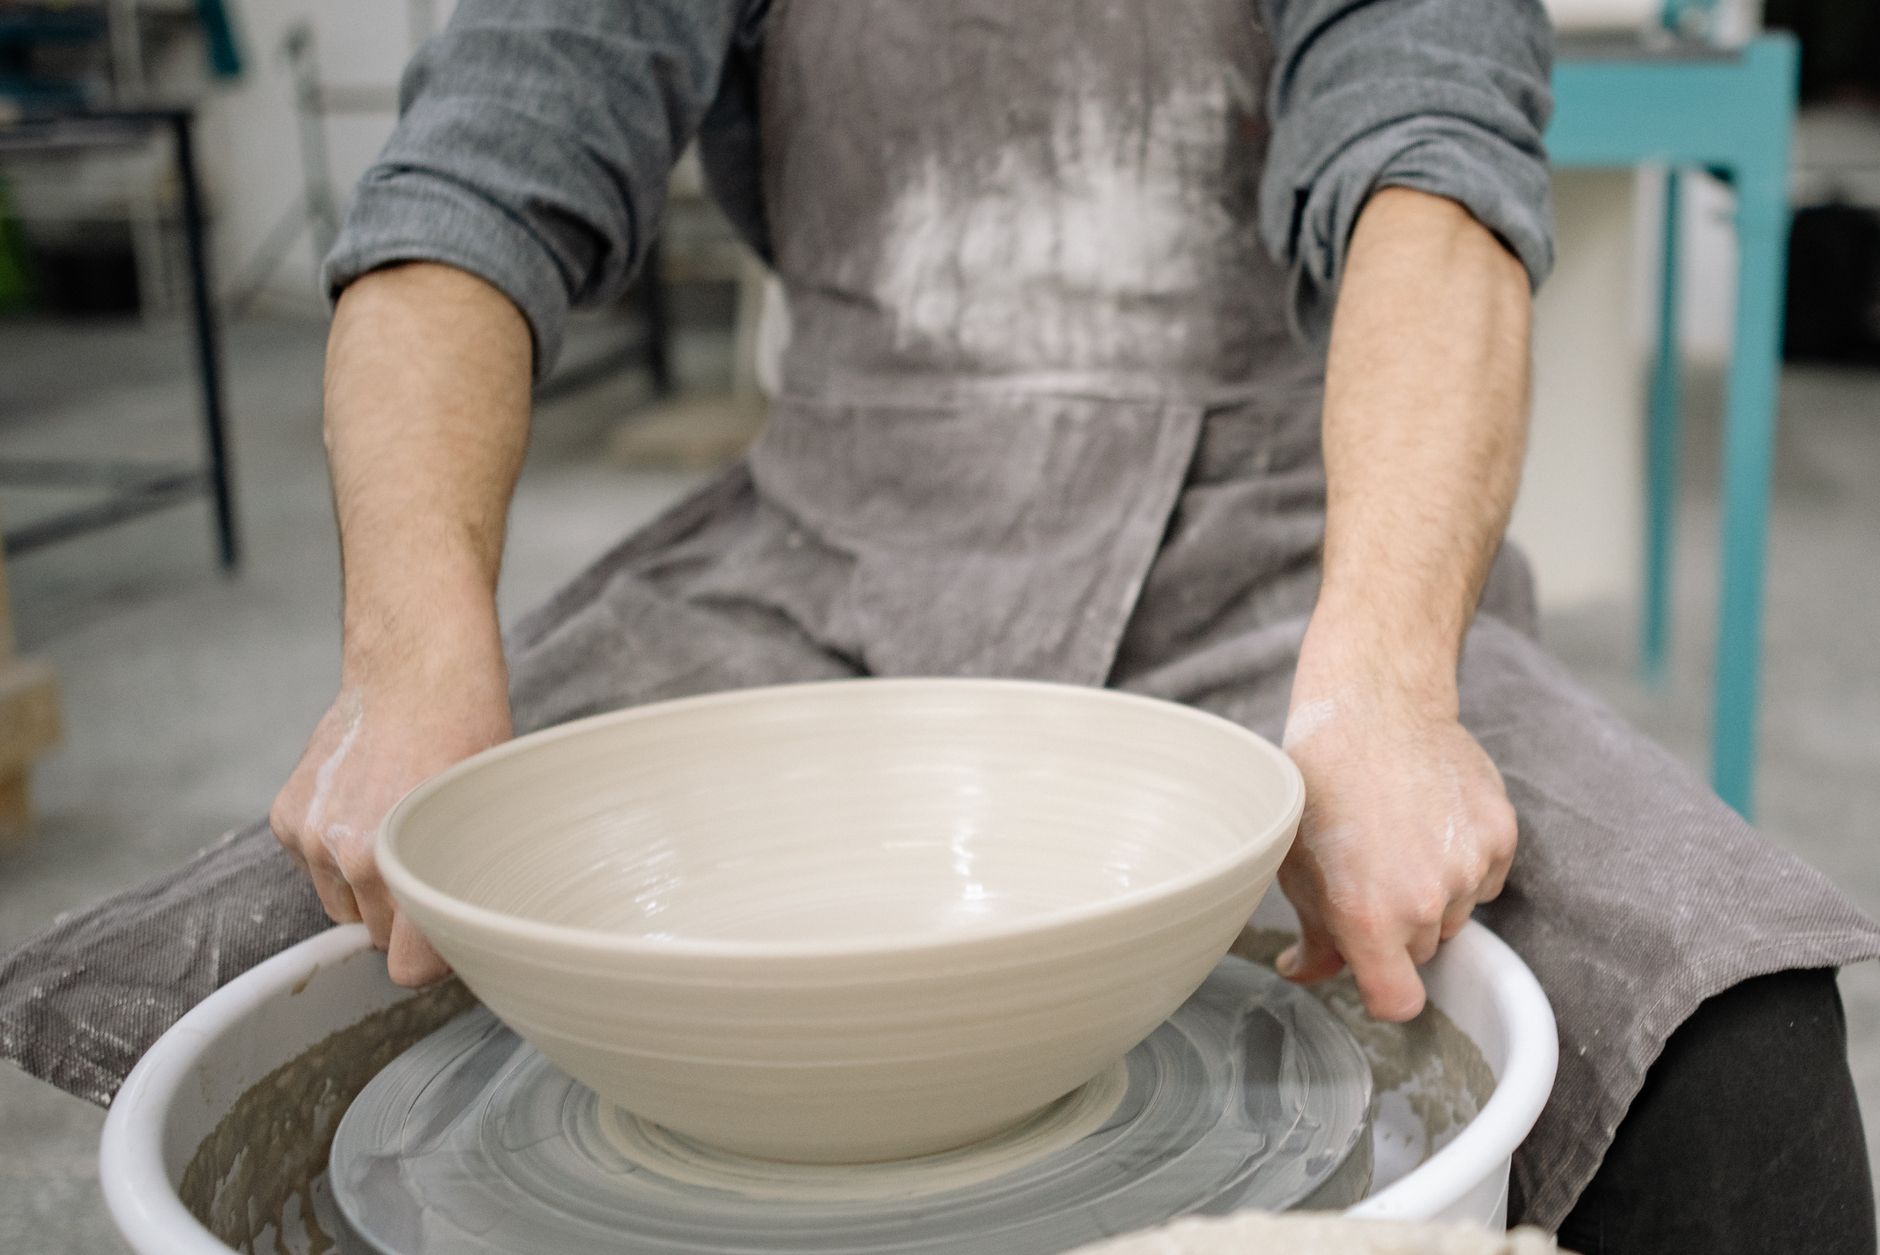
The Artisan's Dilemma: Navigating the Difference Between Cone 6 and Cone 10 Firing
Students ask me all the time about the invisible threshold where raw earth transforms into permanent stone. In all my years at the wheel, nothing stirs up quite as much debate in the studio as the eternal choice between temperatures. When you pull a fresh, damp cylinder from the bat, its fate rests entirely on the heat of the kiln. Understanding the difference between cone 6 and cone 10 firing is not merely a technical checkbox; it is the very heartbeat of your ceramic journey.
I learned this the hard way, decades ago, when I pulled a batch of beautifully thrown mugs from a kiln only to find the glazes completely dull and the clay body stubbornly porous because I had mismatched my temperatures. Clay has a way of teaching you humility through trial and error. The wheel doesn't care about your age or your experience—it demands respect for the physics of heat, chemistry, and time. Whether you are setting up your first home studio or looking to refine your advanced pottery techniques, mastering this choice will fundamentally change how your work emerges from the fire.
Learn with Stephen — the full course, $49.99 lifetime
8 full-length video lessons, one-time price, 30-day money-back guarantee.
Get the Video Course →Introduction to Cone 6 and Cone 10 Firing: Exploring the Basics
To truly understand how to elevate your studio practice, you have to look beyond the numbers on the pyrometric cone and grasp what is happening inside that fiery chamber. Pyrometric cones do not just measure simple ambient temperature; they measure heat-work, which is a combination of both temperature and the time the kiln holds that heat.
Cone 6 fires to roughly 2,232 degrees Fahrenheit, while Cone 10 reaches a blistering 2,381 degrees Fahrenheit. That seemingly modest difference of about 150 degrees changes everything. At Cone 6, you are operating in a mid-range temperature that is efficient, accessible for electric kilns, and gentle on elements. At Cone 10, you enter the realm of high-fire ceramics, traditionally associated with gas reductions, roaring burners, iron-rich clays, and the rich earthy flashing that only a hungry flame can produce.
Understanding the Factors That Determine Firing Technique
Choosing your peak temperature requires looking at the triad of ceramics: your clay body, your glaze chemistry, and the atmosphere inside the kiln. The chemical composition of clay bodies dictates how they react to sustained thermal stress. Stonework and porcelains formulated for high-fire operations contain fluxes that vitrify—melt into a glass-like matrix—only when pushed to those upper limits, sealing the clay so it holds water without a drop of glaze.
When we look at pottery video lessons, instructors often emphasize that glazes are essentially powdered glass suspended in liquid, waiting for heat to fuse them to the pot. A glaze designed for the gentle melt of Cone 6 might run like watery soup and weld your pot permanently to the kiln shelf if subjected to the ferocious heat of Cone 10. Conversely, a robust Cone 10 glaze fired in a mid-range electric kiln will emerge dry, underfired, and rough to the touch. The atmosphere matters, too; neutral electric kilns handle mid-range work predictably, while reduction atmospheres starve the kiln of oxygen, pulling oxides out of the clay and glazes to create breathtaking, unpredictable color shifts.
The Benefits and Drawbacks of Each Firing Technique
Every firing method comes with its own distinct personality and set of compromises. Cone 6 firing offers remarkable convenience, energy efficiency, and a vast rainbow of commercially available bright, stable colors. It is the backbone of modern studio pottery because electric kilns make temperature control as simple as pressing a button. The drawback? Some potters find mid-range surfaces lack the deep, buttery vitrification and organic depth found in traditional high-fire work.
Cone 10, on the other hand, yields unmatched durability, incredibly tough functional ware, and surfaces rich with historical depth. The high heat forces the silica and fluxes into a tighter, stronger bond, resulting in pots that feel substantial and ring like a bell when tapped. The downside is steep: higher utility bills, accelerated wear and tear on kiln bricks and elements, and a more limited palette of bright reds and oranges, which often burn out at extreme temperatures.
Putting It All Together: A Step-by-Step Guide to Choosing the Right Firing Technique
If you want to learn pottery online and decide which path is right for your current body of work, take a methodical approach in your studio. First, examine the primary function of your pots. If you are making delicate, brightly colored decorative pieces or tableware for busy modern kitchens where rapid turnaround is helpful, mid-range Cone 6 is a faithful companion. If you are chasing deep, earthy reduction tones, heavy-duty functional stoneware, and the romance of traditional high-fire ceramics, design your workflow around Cone 10.
Next, match your clay body explicitly to your firing range before you ever center a lump of earth on the wheel head. Never mix up your bags; store your mid-range stoneware separately from your high-fire porcelain to avoid catastrophic glaze-fit failures down the road. Run test tiles for every new clay and glaze combination, noting how the surface reacts to the soak at peak temperature. By letting the chemistry guide your hand rather than guesswork, you will bring a quiet confidence to every piece you pull from the kiln.
If you are ready to dive deeper into the timeless craft of ceramics and want structured, step-by-step guidance from decades at the wheel, I invite you to explore the complete video library at payhip.com/b/89jNv.
Watch Stephen Demonstrate This Technique
Get lifetime access to 8 detailed pottery video lessons — wheel throwing, hand-building, glazing, and more.
Get the Video Course — $49.99 with code I4N4LHE7OL →Learn Pottery from a Master
60+ years of wheel-throwing, hand-building, glazing, and kiln work — now in detailed video lessons you can follow at your own pace.
8 full-length videos · Lifetime access · $149 $49.99 with code I4N4LHE7OL
Photo by Yan Krukau • Published September 24, 2026
Learn with Stephen — the full course, $49.99 lifetime
8 full-length video lessons, one-time price, 30-day money-back guarantee.
Get the Video Course →