Jepson Pottery Blog
Discovering the Harmony Between Form and Function: A Potter's Guide to Cone 6 and Cone 10 Firing Temperatures
Students ask me all the time, sitting there with damp clay under their fingernails and a look of absolute concentration on their faces, how to make sense of the kiln room. In all my years at the wheel, I have watched countless beginners stare into the fiery belly of a kiln as if it were holding ancient secrets. And in truth, it is. When you decide to bring pottery into your daily life, you are inviting a wonderfully messy, transformative element into your space. But before your pieces ever reach that glowing red interior, you have to understand the fundamental conversation happening between your clay, your glaze, and the heat. Today, let us look at the technical reality of cone 10 vs cone 6 without getting bogged down in dry laboratory jargon, so you can bring your forms to life with confidence.
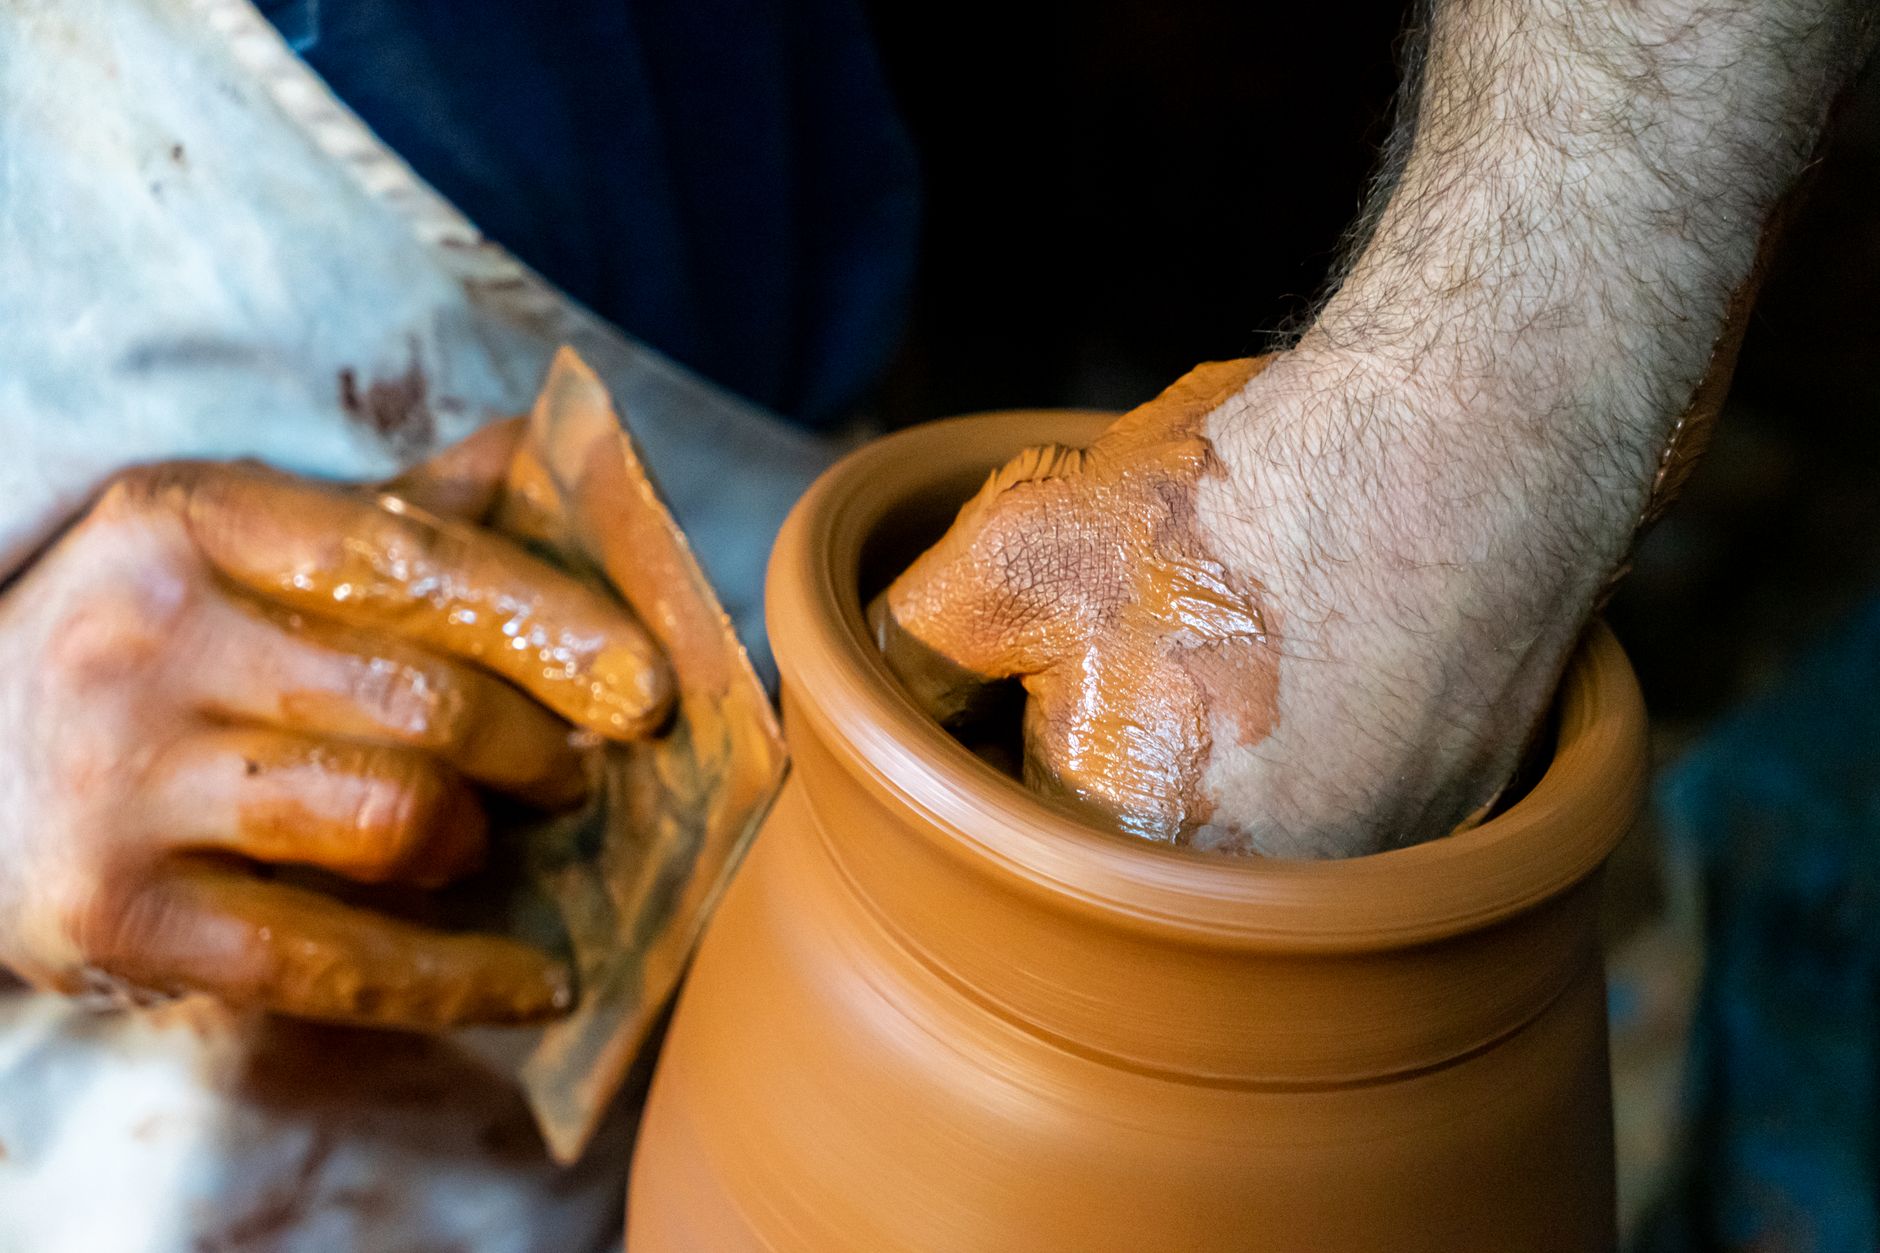
I learned this the hard way, decades ago, when I lost an entire kiln load of pots because I treated temperature like a casual suggestion rather than a precise recipe. Clay has a way of teaching you patience through humility. You spend hours centering a stubborn mound of earth, pulling up the walls with even, balanced pressure using your damp hands, and letting your body weight guide the clay rather than just your tired fingers. You cone the clay up and press it down two or three times before you open the ball, feeling the responsiveness of the material beneath your palms. You craft a vessel with intention and grace, only to pull it from the kiln warped, blistered, or weeping because the heat work was mismatched to the body. That is a lesson you only need to experience once.
Learn with Stephen — the full course, $49.99 lifetime
8 full-length video lessons, one-time price, 30-day money-back guarantee.
Get the Video Course →Introduction to Cone 6 and Cone 10 Firing Temperatures
Understanding your firing temperature is just as vital as mastering your pottery wheel techniques for beginners or learning how to center your clay. When we talk about ceramics, pyrometric cones are our instruments for measuring heat work—which is a combination of temperature and time. Two temperatures dominate much of the studio conversation, each offering distinct characteristics for your finished work.
Cone 6 firing temperatures typically range from 1800°F to 1900°F, resulting in a more open, porous glaze that is often celebrated by studio potters who love vibrant, fluid colors. On the other hand, cone 10 firing temperatures range from 2200°F to 2400°F, producing a denser, more glass-like vitrification that is exceptionally tough and durable. Choosing between them depends entirely on the tactile qualities you want your pottery to possess and how you plan to use the finished vessel.
The Science Behind Cone 6 and Cone 10 Firing
Let us look at the physical transformation happening inside the kiln walls. As the temperature rises, clay undergoes a dramatic physical and chemical shift. At cone 6, the clay body sinters and tightens, though it retains a microscopic openness. This temperature range is exceptionally forgiving and economical for modern electric kilns, making it a favorite for setting up a home pottery studio where energy efficiency matters.
Cone 10, traditionally the domain of gas and reduction firing, pushes the clay and glaze to their absolute structural limits. At these extreme levels, the silica and fluxes melt into a true glass matrix. The clay body itself vitrifies, meaning it becomes dense and non-porous even without a glaze. The key to successful cone 10 firing is achieving precise temperature control and uniform heat distribution, as even small variations across the kiln shelves can significantly impact the final product's color response and glaze fit.
Tips for Achieving Success with High-Heat Firing
If you decide to venture into higher temperatures, preparation is everything. The wheel doesn't care about your age or your experience—clay humbles us all equally, and the kiln is equally impartial.
First, pay close attention to your clay body selection. You must use a true stoneware or porcelain formulated to withstand the intense thermal stress of higher heat without sagging or slumping out of shape. Second, give your pieces ample room to breathe on the kiln shelves. At cone 10, glazes become wonderfully fluid and prone to running; leaving a clean, dry footing on every single pot will save your kiln shelves from stubborn glaze drips. Finally, trust your pyrometric cones over digital thermocouples alone. Visual confirmation inside the peephole tells you the true story of what the heat has accomplished.
Common Challenges and Solutions in the Kiln Room
Every potter encounters hurdles when dialing in their firing schedules. If your cone 6 glazes are looking dull or dry, you may be under-firing or using a recipe formulated for a tighter melt. If your cone 10 reduction pots have gray, lifeless surfaces, your kiln atmosphere might lack the necessary oxygen deprivation to draw out those rich copper reds and iron spottings.
Take meticulous notes on every single firing. Record your clay batch, your glaze application thickness, your shelf stacking arrangement, and your cone pack bends. Over time, these observations build an intuitive map of your specific kiln's personality. Whether you are exploring pottery video lessons online or refining your skills through structured learn pottery online modules, patience remains your most valuable tool.
As you shape and mold your clay, remember that the right firing temperature can elevate your pieces from functional to sublime. To dive deeper into these techniques and watch master demonstrations step-by-step, explore the complete video library at jepsonpotteryvideos.com.
Watch Stephen Demonstrate This Technique
Get lifetime access to 8 detailed pottery video lessons — wheel throwing, hand-building, glazing, and more.
Get the Video Course — $49.99 with code I4N4LHE7OL →Learn Pottery from a Master
60+ years of wheel-throwing, hand-building, glazing, and kiln work — now in detailed video lessons you can follow at your own pace.
8 full-length videos · Lifetime access · $149 $49.99 with code I4N4LHE7OL
Photo by Deniz ŞENGÜL • Published October 19, 2026
Learn with Stephen — the full course, $49.99 lifetime
8 full-length video lessons, one-time price, 30-day money-back guarantee.
Get the Video Course →