Jepson Pottery Blog
The Joy of Pottery and the Path to Advanced Forms
When you sit down at the wheel with a lump of grey earth, the rest of the world has a wonderful way of simply fading away. In all my years at the wheel, from my early days experimenting in my studio to teaching eager minds as a professor, I have watched clay transform quiet rooms into places of deep focus and discovery. Students ask me all the time how to make that leap from simple, comforting bowls to taller, more ambitious cylinders. Scaling up your work requires patience, a respect for the physics of the material, and an understanding of advanced pottery techniques that keep gravity from winning the day.
Clay has a way of teaching you humility. When you attempt to throw taller vessels, the clay will inevitably remind you if your centering was even slightly off or if your walls carry uneven thickness. Over six decades of working in my Geneva, Florida studio—where my pieces even found a home in the collection of the Smithsonian American Art Museum—I learned this the hard way, decades ago. I tried to force a five-pound lump of stoneware straight up on my first try without proper support, and watched the entire architectural marvel slowly twist into a sad, wet spiral of defeat.
Learn with Stephen — the full course, $49.99 lifetime
8 full-length video lessons, one-time price, 30-day money-back guarantee.
Get the Video Course →Understanding the Foundation: Clay Bodies and Firing Ranges
Before we discuss the mechanics of reaching for the ceiling with your clay, we must talk about the raw materials beneath your hands. Whether you are setting up a home pottery studio or working in a shared community space, knowing your medium is everything. Beginners often wonder about the practical differences when exploring advanced pottery techniques, particularly regarding temperature and structure. You will frequently hear discussions around cone 6 vs cone 10 firing.
At cone 6, your glazes often display bright, vibrant colors due to the oxidation atmospheres commonly used in electric kilns, making it a favorite for many studio potters. Cone 10, traditionally fired in reduction kilns, pushes stoneware and porcelain to vitrify completely, resulting in incredible durability and earthy, deep color responses from iron-bearing clays. The wheel doesn't care about your age or your experience—it only responds to the truth of your technique. When you scale up your cylinders, choosing a heavily grogged clay body provides the structural backbone necessary to hold height without collapsing under its own weight.
Mastering the Pull for Taller Cylinders
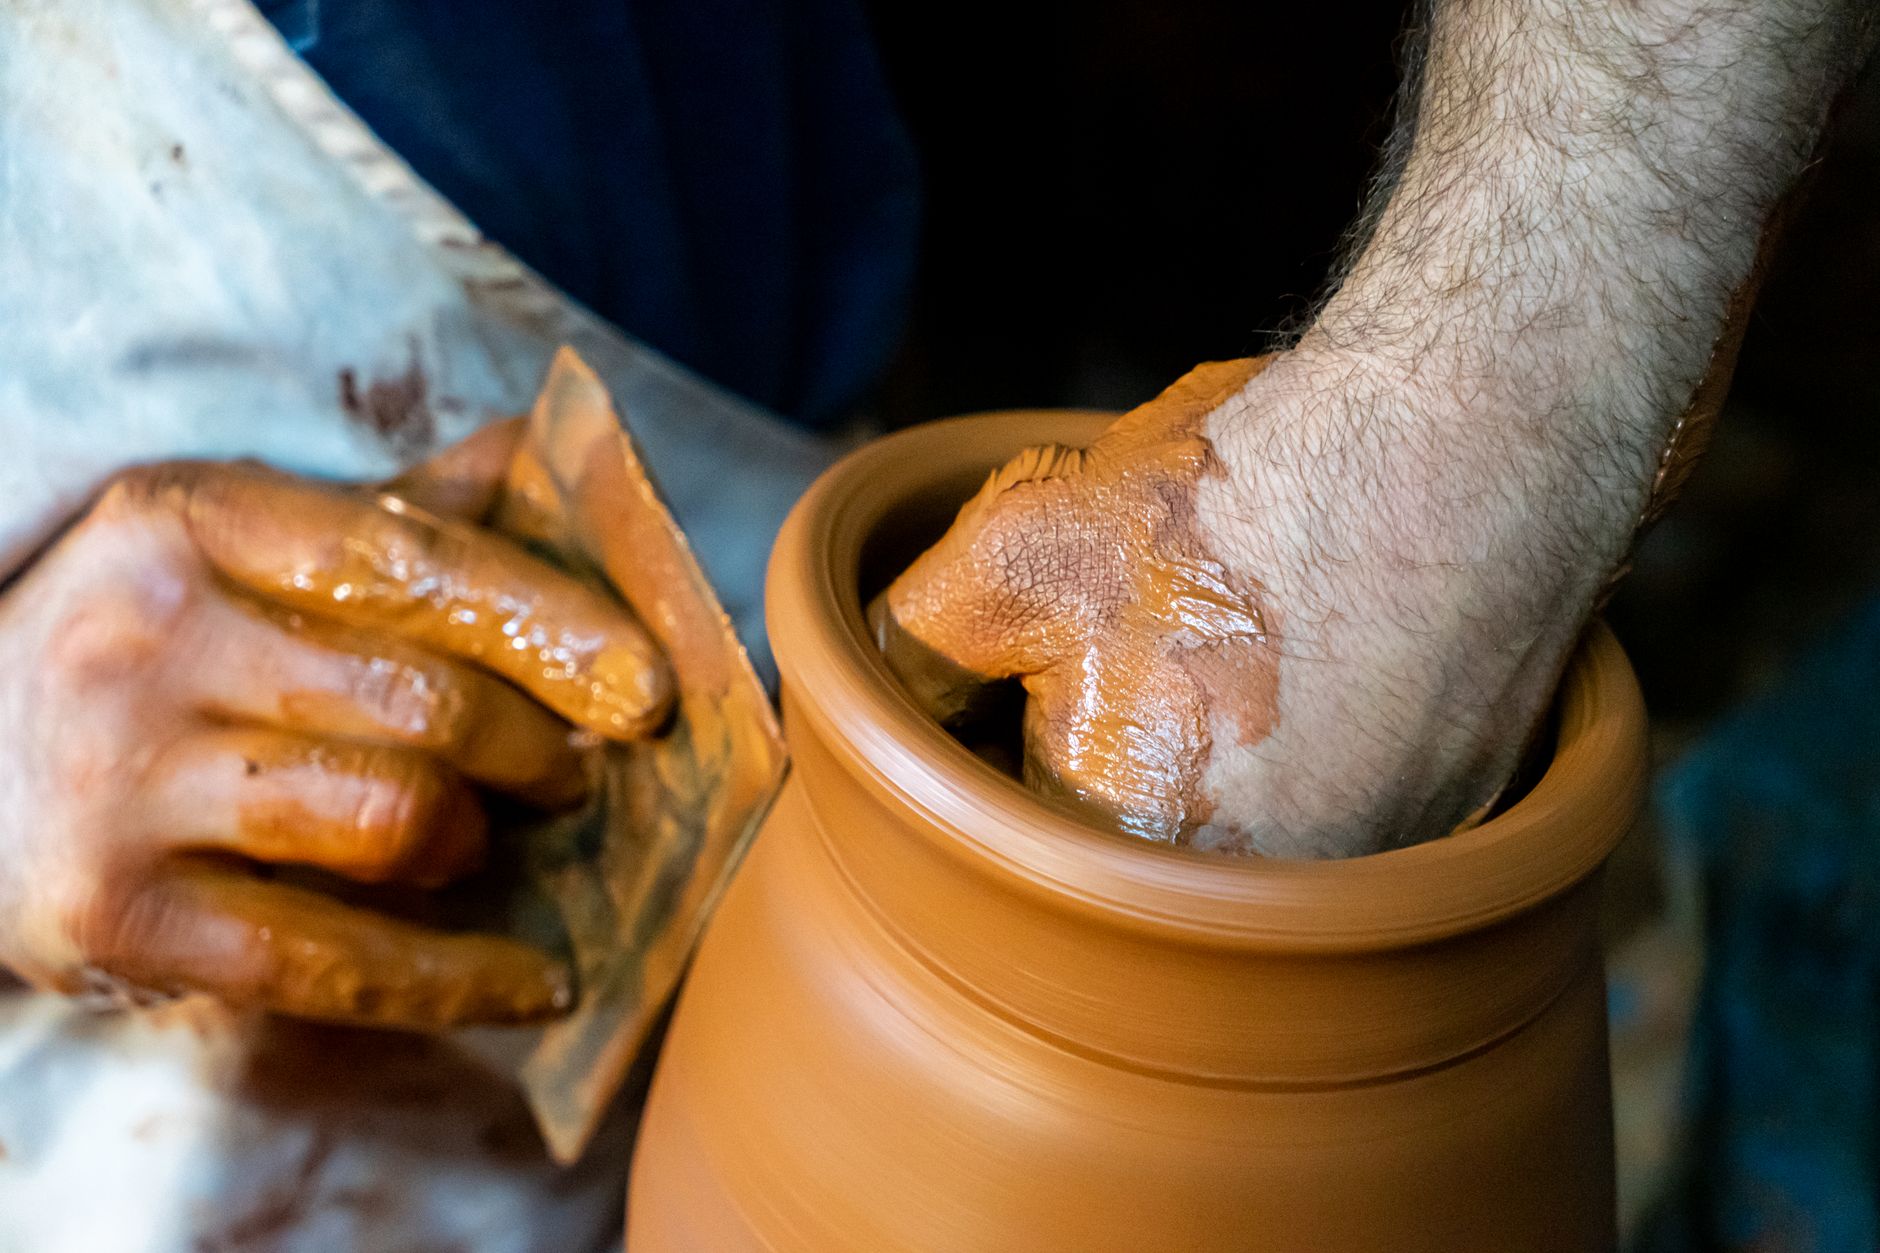
To build height, your approach to the wheel must change. When throwing standard-sized pieces, your pulls are relatively short and straightforward. But when scaling up, you are essentially building a tower brick by brick, or rather, pull by pull. Start with a solid, perfectly centered cone of clay, ensuring your base is compressed firmly to prevent S-cracks later.
As you open your center, leave a slightly thicker floor than you normally would to support the heavy walls above. When you make your first pull from the bottom, engage your inner and outer fingers gently, locking your wrists together for stability. Lift upward at a steady, deliberate pace. If you are looking to learn pottery online or refine your practice through pottery video lessons, pay close attention to hand placement. Your inside hand guides the interior radius, while the outside hand acts as a steadfast wall, preventing the clay from flaring outward prematurely.
As the cylinder grows, remember that the rim will naturally want to widen. You must collar the rim inward slightly after every major pull to keep the diameter controlled and the walls vertical. If your cylinder begins to wobble or bow outward, do not panic. Use a rib tool to support the exterior while you smooth the surface, or simply take a moment to let the clay firm up slightly using a heat gun before returning to the wheel.
Embracing the Journey in Your Home Studio
You do not need an elaborate commercial facility to practice these advanced forms. Setting up a functional home pottery studio is entirely about carving out a small, dedicated space where you can make mistakes freely. Keep your tools accessible—a trusty wooden rib, a reliable cutting wire, a sponge, and a few trimming tools are all you truly require.
The beauty of ceramics lies in its endless capacity for reinvention. If a tall cylinder collapses, it is not a failure; it is simply recycling material for tomorrow's session. Treat every crack, wobble, and asymmetric rim as a conversation between your hands and the earth.
For those ready to dive deeper into the craft and watch these techniques demonstrated in real time, I invite you to explore the complete video library. You can discover the full collection of detailed guidance and step-by-step instruction by visiting the lifetime pottery video course at payhip.com/b/89jNv. Take your time, keep your hands steady, and enjoy the wonderful journey of the clay.
Watch Stephen Demonstrate This Technique
Get lifetime access to 8 detailed pottery video lessons — wheel throwing, hand-building, glazing, and more.
Get the Video Course — $49.99 with code I4N4LHE7OL →Learn Pottery from a Master
60+ years of wheel-throwing, hand-building, glazing, and kiln work — now in detailed video lessons you can follow at your own pace.
8 full-length videos · Lifetime access · $149 $49.99 with code I4N4LHE7OL
Photo by Deniz ŞENGÜL • Published September 16, 2026
Learn with Stephen — the full course, $49.99 lifetime
8 full-length video lessons, one-time price, 30-day money-back guarantee.
Get the Video Course →