Jepson Pottery Blog
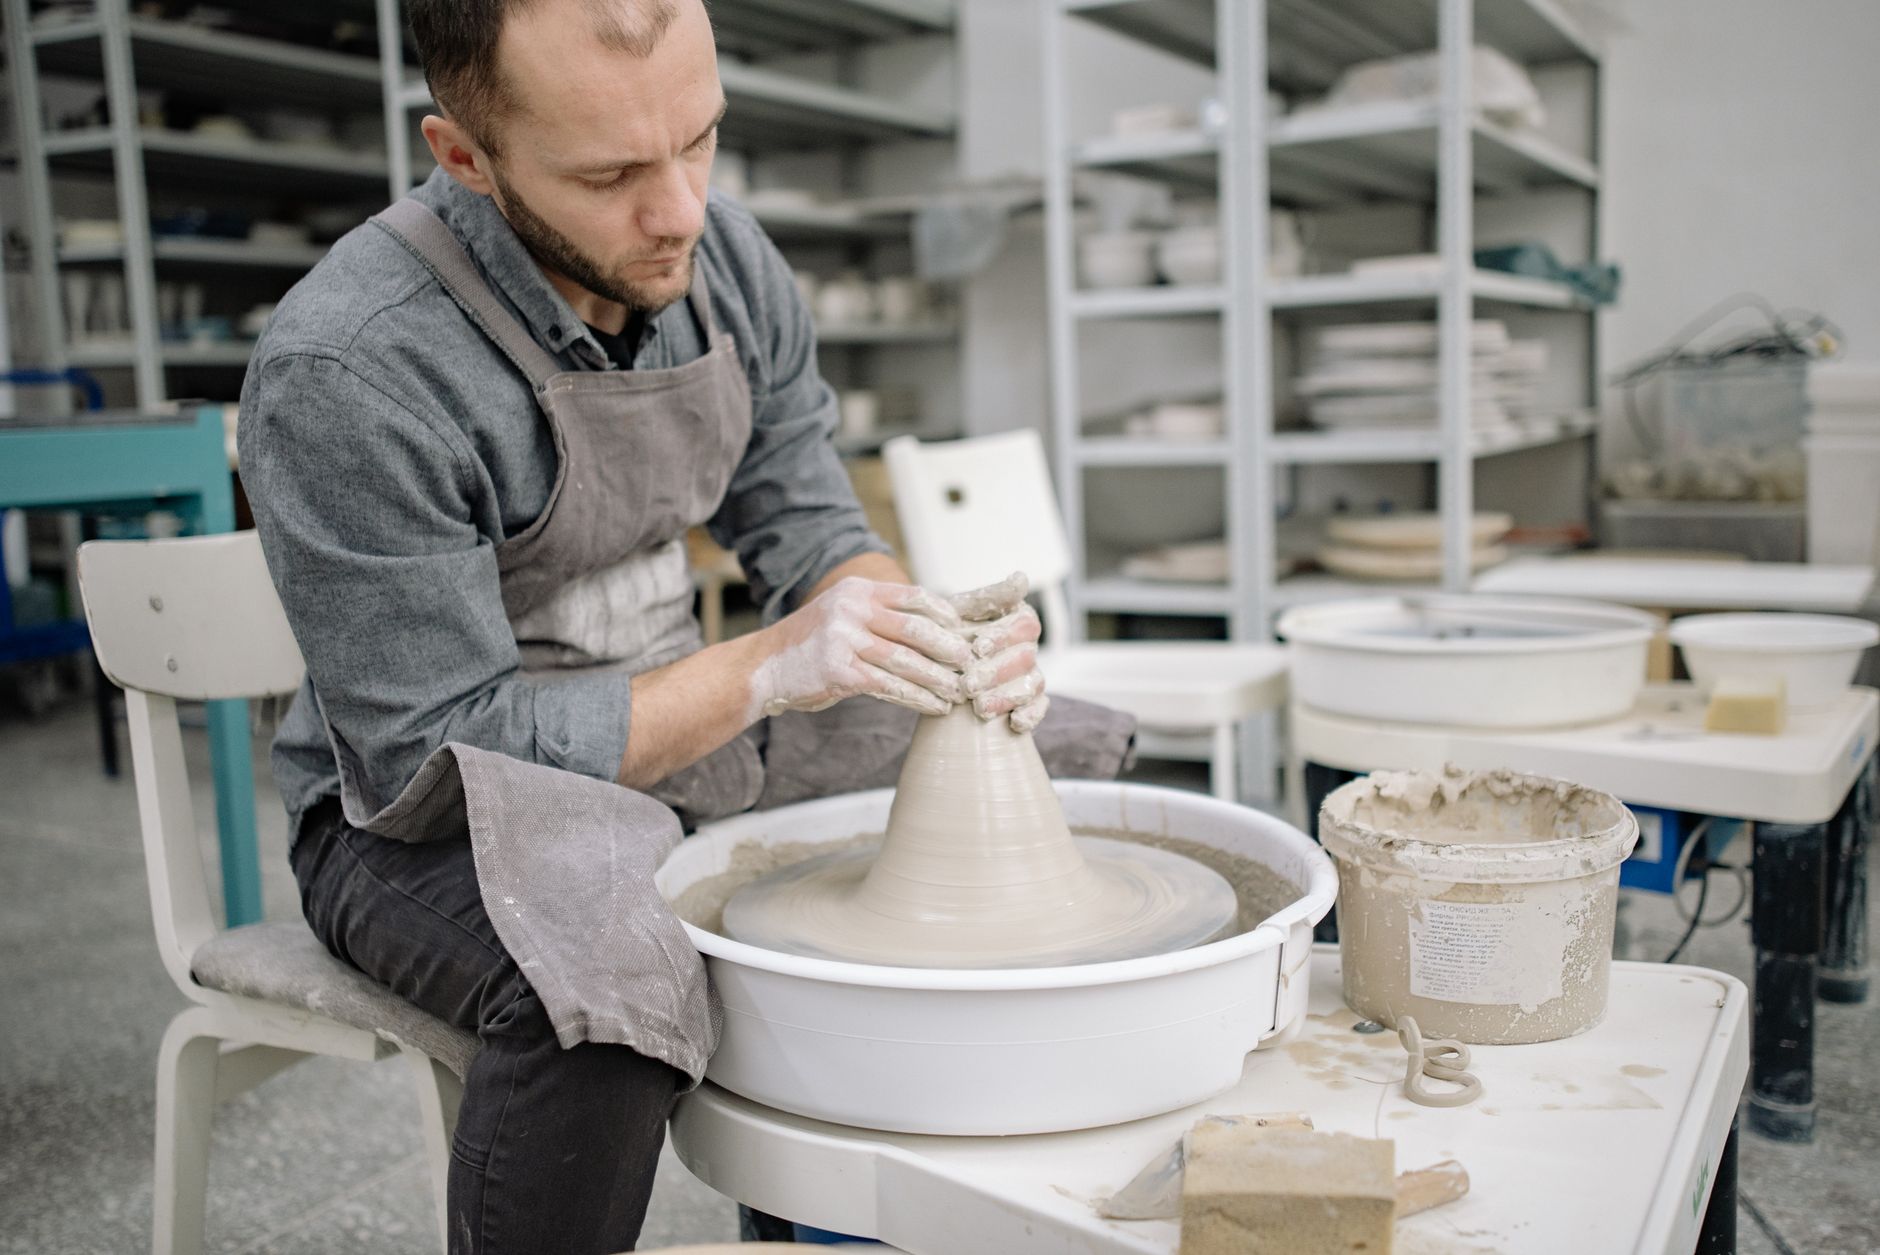
The Wisdom of Firing: Understanding Cone 6 and Cone 10
When people ask about how to learn pottery online, they often wonder if they can truly grasp the tactile nature of the medium through a screen. I always tell them that a good demonstration is like having an experienced set of hands right beside yours in the studio. In all my years at the wheel, nothing has shaped the character of a finished vessel quite as much as the heat of the kiln. Students ask me all the time whether they should fire their work to cone 6 or cone 10, as if one were inherently superior to the other. But the wheel doesn't care about your age or your experience—and the kiln doesn't judge your temperature choice, provided you understand the physics and chemistry happening inside those glowing brick walls.
I learned this the hard way, decades ago, when I was setting up my very first independent workspace. I had very little money, even less square footage, and a stubborn determination to throw pots every single day. I loaded my early stoneware into a roaring kiln, eager for results, only to pull out warped mugs and runny glazes because I had mismatched my clay body to the wrong firing cycle. Clay has a way of teaching you humility through trial and error, and understanding the difference between cone 6 vs cone 10 is one of the most foundational lessons a ceramic artist can embrace.
Learn with Stephen — the full course, $49.99 lifetime
8 full-length video lessons, one-time price, 30-day money-back guarantee.
Get the Video Course →The Chemistry of Firing: Exploring the Science Behind Cone 6 and Cone 10
To truly master pottery video lessons and elevate your studio practice, you have to look beyond the numbers on the pyrometric cone. The core difference between cone 6 and cone 10 firing comes down to temperature and vitrification—the point at which clay melts just enough to close its pores and become completely non-porous.
Cone 6 fires to approximately 2,232 degrees Fahrenheit (1,222 degrees Celsius), while cone 10 pushes much higher to around 2,381 degrees Fahrenheit (1,305 degrees Celsius). This temperature gap changes everything about the chemistry of your materials. Cone 10 clay bodies, packed with rich ball clays and fire clays, tighten up aggressively under that intense heat, resulting in a rugged, highly durable vessel that sings when you tap it. Cone 6 clay bodies often rely on fluxes—minerals that lower the melting point—to achieve that same density at a lower temperature.
The difference in chemical composition between cone 6 and cone 10 glazes is equally profound. At cone 10, reduction atmospheres in gas kilns coax breathtaking iron reds and subtle celadons from the minerals themselves. At cone 6, oxidation electric kilns offer dependable consistency, allowing vibrant colorants and specialized frits to perform predictably every single time. Neither approach is a shortcut; they are simply two distinct conversations you can have with the earth.
The Art of Firing: How Personal Preference and Vision Shape the Decision
There is a persistent misconception floating around modern studios that cone 6 is exclusively for beginners and cone 10 is reserved for seasoned masters. This is absolute nonsense. The choice between cone 6 vs cone 10 firing is not a measure of your skill level, but rather a reflection of your artistic vision and practical circumstances.
When I am sitting at the wheel in my Geneva, Florida studio, shaping a porcelain vase or a heavy stoneware mixing bowl, I consider what kind of life that piece is going to live. If you want subtle, earthy surfaces that interact dynamically with flame and reduction gases, cone 10 offers a depth that is difficult to replicate. If you prefer bright, stable colors and want to conserve energy in your studio, cone 6 is a remarkably sophisticated medium that supports incredibly intricate surface decoration.
The impact of firing temperature on clay body strength and durability is real, but a well-formulated cone 6 body is more than strong enough for daily functional use in the kitchen and dining room. The role of personal preference and artistic vision in the firing decision should always outweigh studio dogma. Choose the temperature that serves the voice of your pots.
Practical Applications: Choosing the Right Firing Temperature for Your Pottery
If you are trying to decide which path to take in your own studio practice, start by looking at your equipment and your artistic goals. Here are a few practical ways to approach this decision:
1. Evaluate your studio infrastructure: If you are working from a home studio with standard residential electrical wiring, an electric kiln firing to cone 6 is likely your most practical and economical option. If you have access to heavy-duty electrical service or natural gas lines, exploring cone 10 becomes entirely feasible.
2. Match your glaze palette to your kiln: If you love bright turquoises, vibrant oranges, and predictable consistency, build your repertoire around cone 6 oxidation. If you are captivated by shino glazes, flashing effects, and the rustic beauty of reduction cooling, direct your energy toward cone 10.
3. Test your clay bodies thoroughly: Never assume a clay body will perform identically across different firing ranges. Throw a series of small test cylinders, fire half to cone 6 and half to cone 10, and measure absorption, shrinkage, and warpage.
4. Learn pottery online with intention: Seek out comprehensive instructional resources that explain the "why" behind the glaze chemistry rather than just giving you pre-made recipes. Understanding the raw materials empowers you to troubleshoot when results do not go as planned.
Embracing the Wisdom of Firing to Elevate Your Craft
Mastering the technical aspects of pottery is a lifelong journey of paying attention to small details—how the wet clay responds to the pressure of your thumbs, how the glaze reacts to the heat of the elements, and how patience rewards you with durable, beautiful art. Whether you decide to anchor your practice in the reliable warmth of cone 6 or the fiery depths of cone 10, remember that every firing is an opportunity to learn something new about your materials and yourself.
For those looking to dive deeper into advanced techniques and refine their skills right alongside me in the studio, I invite you to explore the complete lifetime video course available at jepsonpotteryvideos.com.
Watch Stephen Demonstrate This Technique
Get lifetime access to 8 detailed pottery video lessons — wheel throwing, hand-building, glazing, and more.
Get the Video Course — $49.99 with code I4N4LHE7OL →Learn Pottery from a Master
60+ years of wheel-throwing, hand-building, glazing, and kiln work — now in detailed video lessons you can follow at your own pace.
8 full-length videos · Lifetime access · $149 $49.99 with code I4N4LHE7OL
Photo by Yan Krukau • Published September 22, 2026
Learn with Stephen — the full course, $49.99 lifetime
8 full-length video lessons, one-time price, 30-day money-back guarantee.
Get the Video Course →