Jepson Pottery Blog
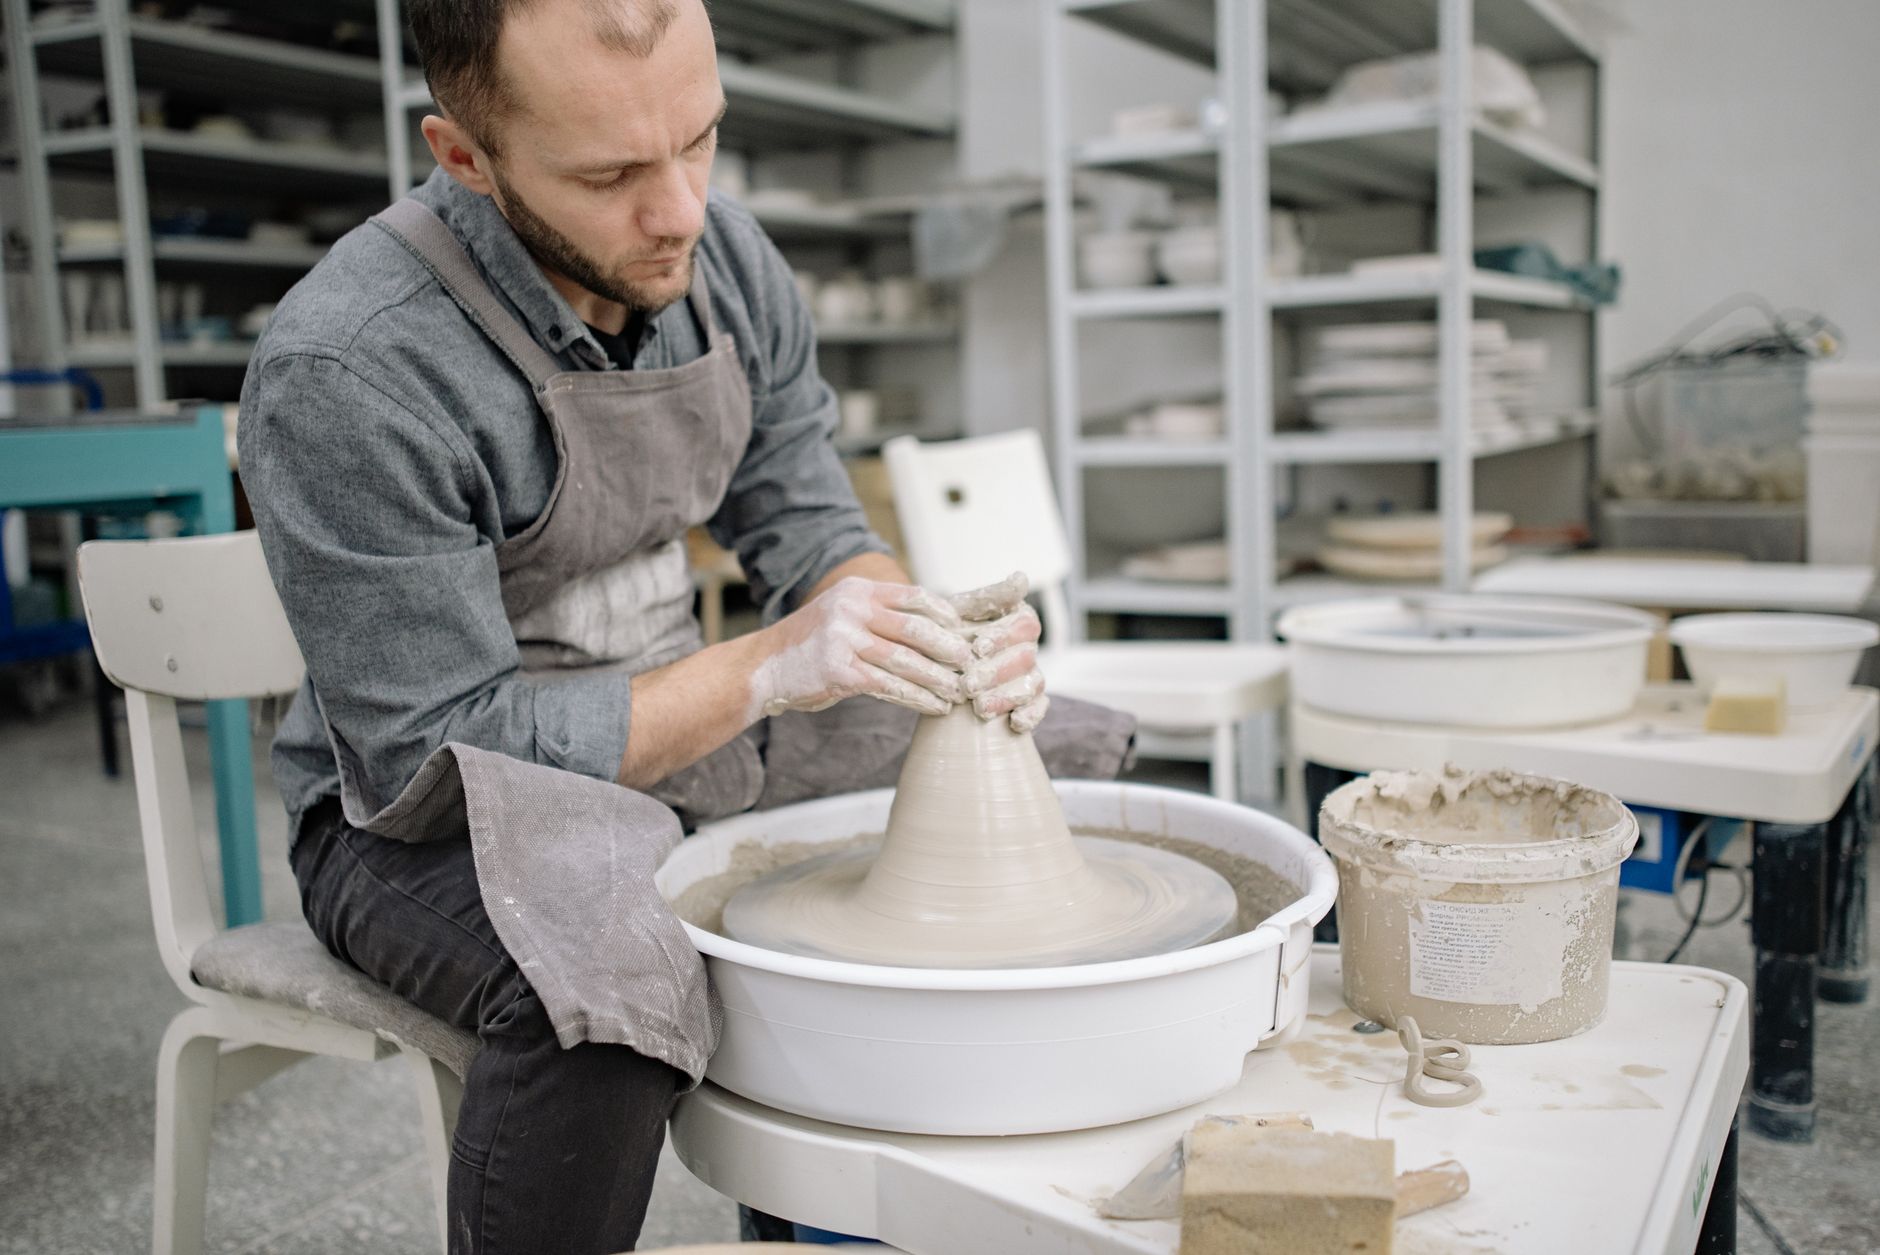
In All My Years at the Wheel...
In all my years at the wheel, one thing remains constant—pottery is a journey that never ends. It's not just about shaping clay into beautiful forms; it's an exploration of self-discovery and creativity. Today, I want to share with you something that has been a cornerstone of ceramic artistry for decades: the Orton Cone Chart. This simple tool can be your guide in mastering the kiln firing process.
The Technique or Wisdom - What Readers Need to Know
Clay has a way of teaching us patience and persistence, just as it teaches us about the delicate balance between heat and form. The Orton Cone Chart is like a map for ceramic artists—guiding them through the complex landscape of kiln temperatures. Imagine standing at the edge of an active volcano, watching the flames dance across its surface. The Orton Cone Chart helps you navigate those fiery landscapes with confidence.
Practical Steps - What They Can Try TODAY in Their Studio or At Class
So, let's get down to it. If you're a beginner or someone looking to refine your technique, understanding and using the Orton Cone Chart can make all the difference. Here’s how you can start:
#### Step 1: Understanding the Basics of the Orton Cone Chart
The Orton Cone Chart is based on the use of Pyrometric cones to measure heatwork in a kiln firing. Cones are typically made from a mixture of clay, feldspar, and other materials that melt at specific temperatures. When they reach their designated temperature, they bend over and "cone." This bending indicates that the cone has reached its designated temperature.
#### Step 2: Preparing Your Firing Schedule
Before you begin, gather your cones. You'll need a few different types to cover various firing ranges. For example:
- **Cone 015** for low-fire earthenware
- **Cone 06** for mid-range stoneware
- **Cone 6** and higher for high-fire ceramics
Place these cones at strategic points in your kiln—typically on either side of the bisque firing or the glaze application. This ensures that you have a consistent reading across different parts of your work.
#### Step 3: Firing with Confidence
Now, it’s time to fire up the kiln! As your clay reaches its designated temperature, watch for those cones to bend over. This is your signal that your pottery has been fired correctly. Pay close attention to each cone's movement and record the exact moment of their bending.
#### Step 4: Experimenting with Different Cones
Once you’re comfortable with low-fire temperatures, try moving up a notch. Each cone will have its unique characteristics, so keep experimenting. The key is consistency—make sure your cones are all the same brand to avoid any surprises.
Inspiring and Encouraging
The wheel doesn't care about your age or your experience—it welcomes everyone with open arms. Whether you’re a seasoned potter or just starting out, understanding the Orton Cone Chart can take your skills to the next level. In all my years at the wheel, I’ve seen countless students transform their raw clay into works of art. The journey is yours to embark on.
So, why not visit **Jepson Pottery Videos** today? There you’ll find a treasure trove of tutorials and tips that will help you master the basics of pottery. Whether you’re learning online or in person, the path is clear. Start your adventure now!
Might I suggest diving into some of my previous videos on centering clay or wheel throwing techniques? These lessons can be your companions as you explore the wonderful world of pottery. Until next time, keep shaping and dreaming.
Watch Stephen Demonstrate This Technique
Get lifetime access to 8 detailed pottery video lessons — wheel throwing, hand-building, glazing, and more.
Get the Video Course — $49.99 with code I4N4LHE7OL →Learn Pottery from a Master
60+ years of wheel-throwing, hand-building, glazing, and kiln work — now in detailed video lessons you can follow at your own pace.
8 full-length videos · Lifetime access · $149 $49.99 with code I4N4LHE7OL
Photo by Yan Krukau • Published June 15, 2026