Jepson Pottery Blog
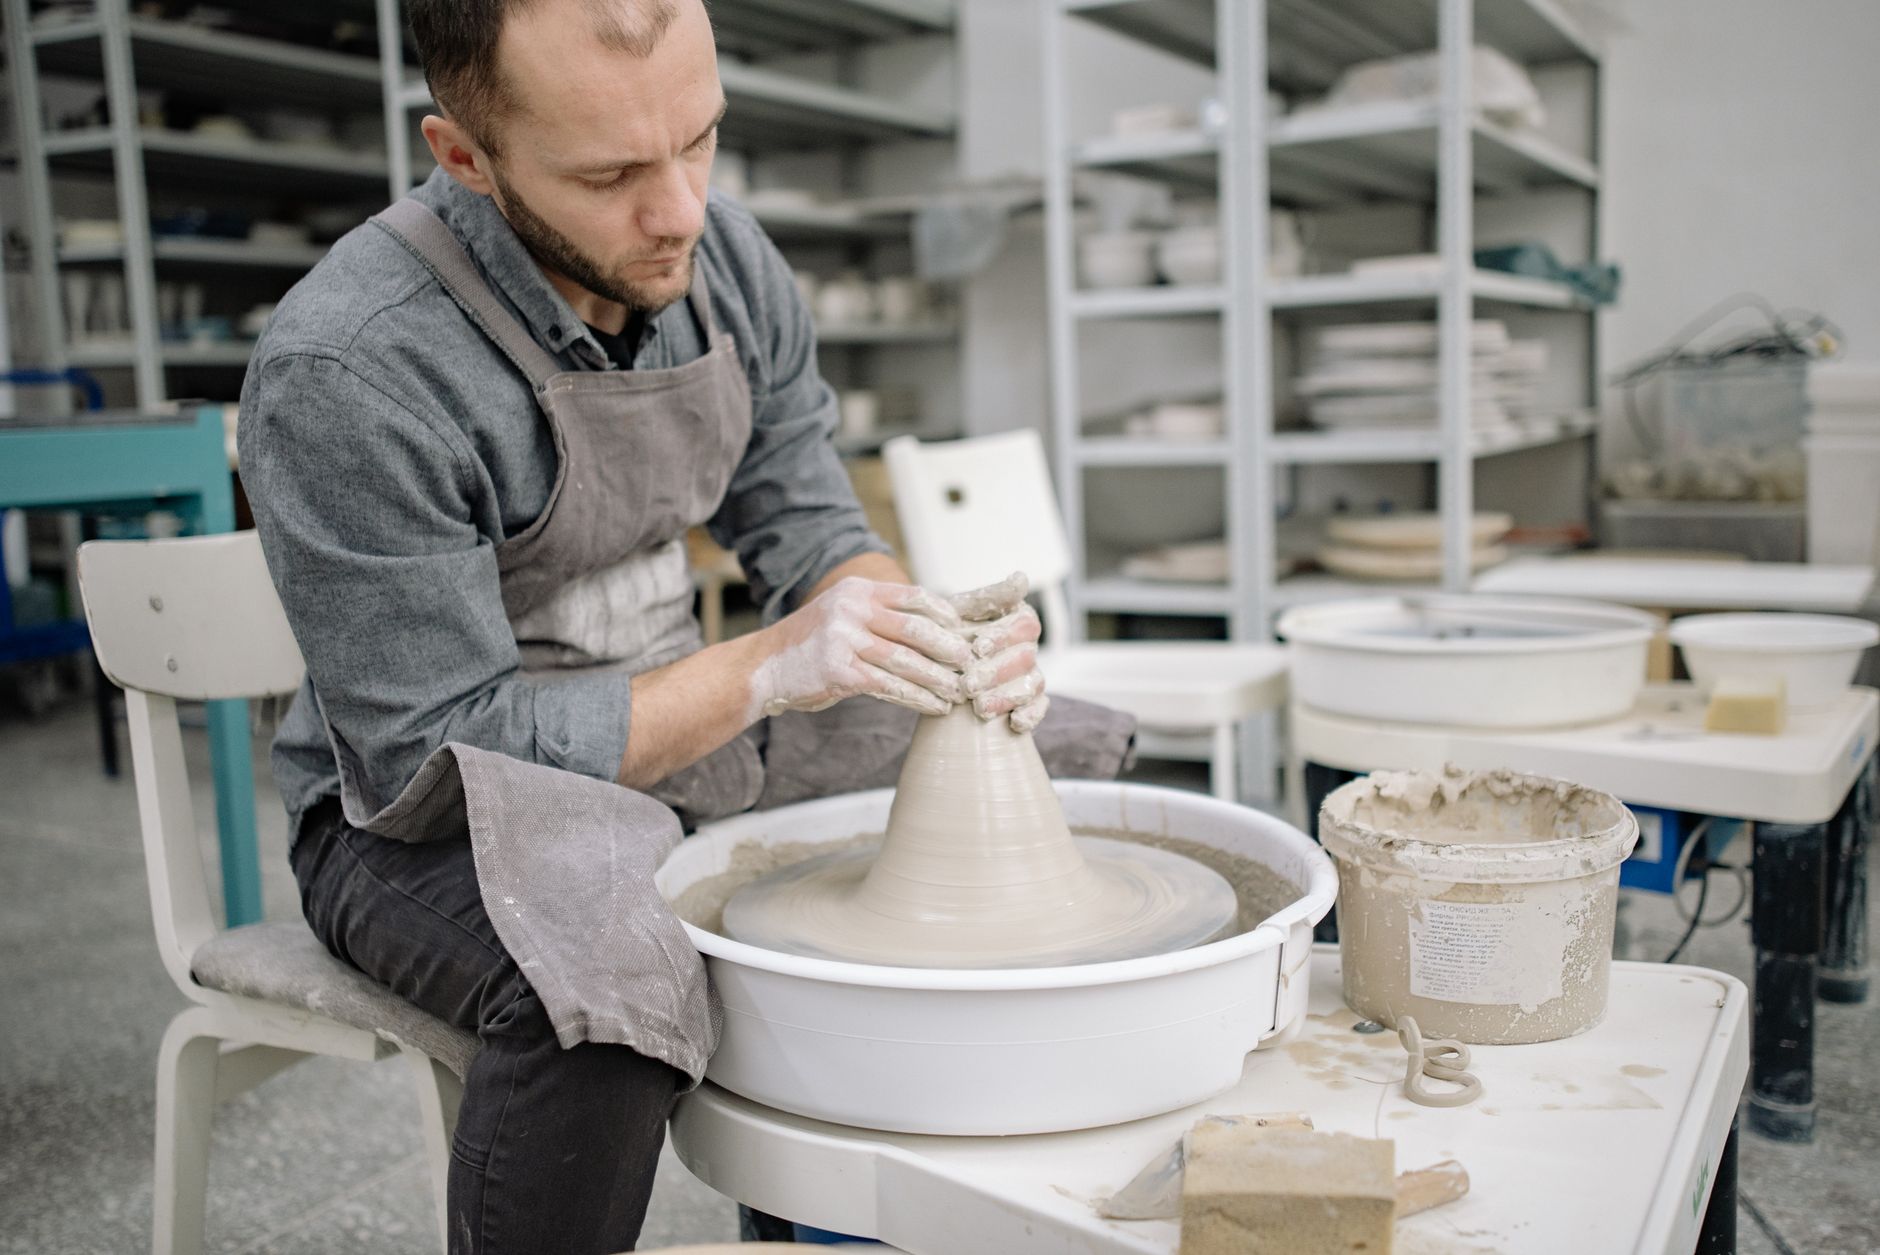
How to Start Learning Pottery Online: A Beginner's Guide to Basic Techniques and Tools
You don't need a studio or a degree to become a potter— all it takes is a willingness to get your hands dirty and learn from the wheel itself. In fact, I've seen some of my most talented students emerge from online classes and workshops. The world of pottery is vast, and today, more than ever, there's an abundance of resources available for those looking to embark on this creative journey.
In all my years at the wheel, one piece of advice has stuck with me: **Clay has a way of teaching you lessons that are both practical and profound.** Decades ago, I faced the challenge of creating larger pots. The wheel didn't care about my age or experience; it simply spun, waiting for my next move.
My Pottery Journey Began Online
Let's go back to when I was first introduced to online pottery lessons. It was 1995, and the internet was still in its infancy. Yet, even then, there were resources out there that could guide you through the basics of centering clay on a wheel. My teacher, Mary, had encouraged me to explore these tools and find my own rhythm.
Now, with the advent of high-speed internet and video platforms like YouTube, starting your pottery journey online has never been easier. The Orton Cone Chart, which helps measure heatwork in kilns, is just one example of how technology can enhance our understanding of this ancient art form. Cones should be calcined to about 850°F (455°C) in an air atmosphere, ensuring a consistent firing temperature every time.
The Orton Cone Chart: Your Guide to Kiln Firing
The Orton Cone Chart is based on the use of Pyrometric cones to measure heatwork in a kiln firing. Before their development, there was no scientific method for determining the exact temperature needed to achieve specific results. Now, with this chart, you can ensure that your glazes and bisque firings are perfect.
#### Understanding Kiln Temperature Ranges
While Cone 04 is the average when firing earthenware, low-fire materials can be fired anywhere from Cone 015 up to Cone 1. This guide helps you decipher kiln firing rates for the best results. For instance, if you're working with stoneware clay, you might use a higher cone number like Cone 6 or Cone 10.
#### Practical Steps: Your First Pot
Now that you have an understanding of the Orton Cone Chart and basic kiln temperature ranges, let's dive into some practical steps for starting your pottery journey online. Here’s what you can try today in your studio or at class:
1. **Gather Your Tools**: You’ll need a potter’s wheel, clay (preferably earthenware), tools like ribbed spatulas and wire cutters, and a kiln.
2. **Watch Online Tutorials**: Find beginner-friendly videos on platforms like YouTube. These can walk you through the basics of centering clay and throwing shapes.
3. **Practice Centering Clay**: Spend time practicing this foundational skill. It's essential for creating balanced and symmetrical pieces.
4. **Join an Online Community**: Engage with other beginners in online forums or social media groups dedicated to pottery. Sharing tips and asking questions can be incredibly helpful.
A Step-by-Step Guide
Let’s take a moment to walk through the process of centering clay on a wheel. This is where the magic happens—where you learn to work with the clay as it spins beneath your hands. Here are some steps to get started:
1. **Prepare Your Wheel**: Ensure it's properly lubricated and spinning smoothly.
2. **Center the Clay**: Place a small ball of clay in the center of the wheel head. Use your thumbs to gently push outwards, gradually increasing the diameter until the clay is balanced and round.
3. **Open the Center**: Using a ribbed spatula, carefully open the center of the clay disc. This will form the base of your pot.
**The wheel doesn't care about your age or experience**—it simply waits for you to engage with it. Take your time; don’t rush into anything. Each piece is unique and tells its own story.
What’s Next?
Once you’ve mastered centering clay, you can move on to more complex techniques like throwing a vase or bowl. Online resources are abundant, and communities like Jepson Pottery Videos offer valuable tutorials and support for beginners.
#### A Signature Phrase: Inspiration in Every Throw
The potter's wheel is a teacher that never tires of showing you its secrets. As you continue your journey, remember **"Clay has a way of teaching you..."**. It might be about patience, precision, or the joy of creation. Whatever it is, it will enrich your life and expand your horizons.
If you're ready to take the next step in learning pottery online, visit [jepsonpotteryvideos.com](http://jepsonpotteryvideos.com) for comprehensive video lessons that cover everything from basic techniques to advanced projects. Whether you're a beginner or an experienced potter looking to refine your skills, there's something here for everyone.
Happy throwing!
Watch Stephen Demonstrate This Technique
Get lifetime access to 8 detailed pottery video lessons — wheel throwing, hand-building, glazing, and more.
Get the Video Course — $49.99 with code I4N4LHE7OL →Learn Pottery from a Master
60+ years of wheel-throwing, hand-building, glazing, and kiln work — now in detailed video lessons you can follow at your own pace.
8 full-length videos · Lifetime access · $149 $49.99 with code I4N4LHE7OL
Photo by Yan Krukau • Published June 25, 2026