Jepson Pottery Blog
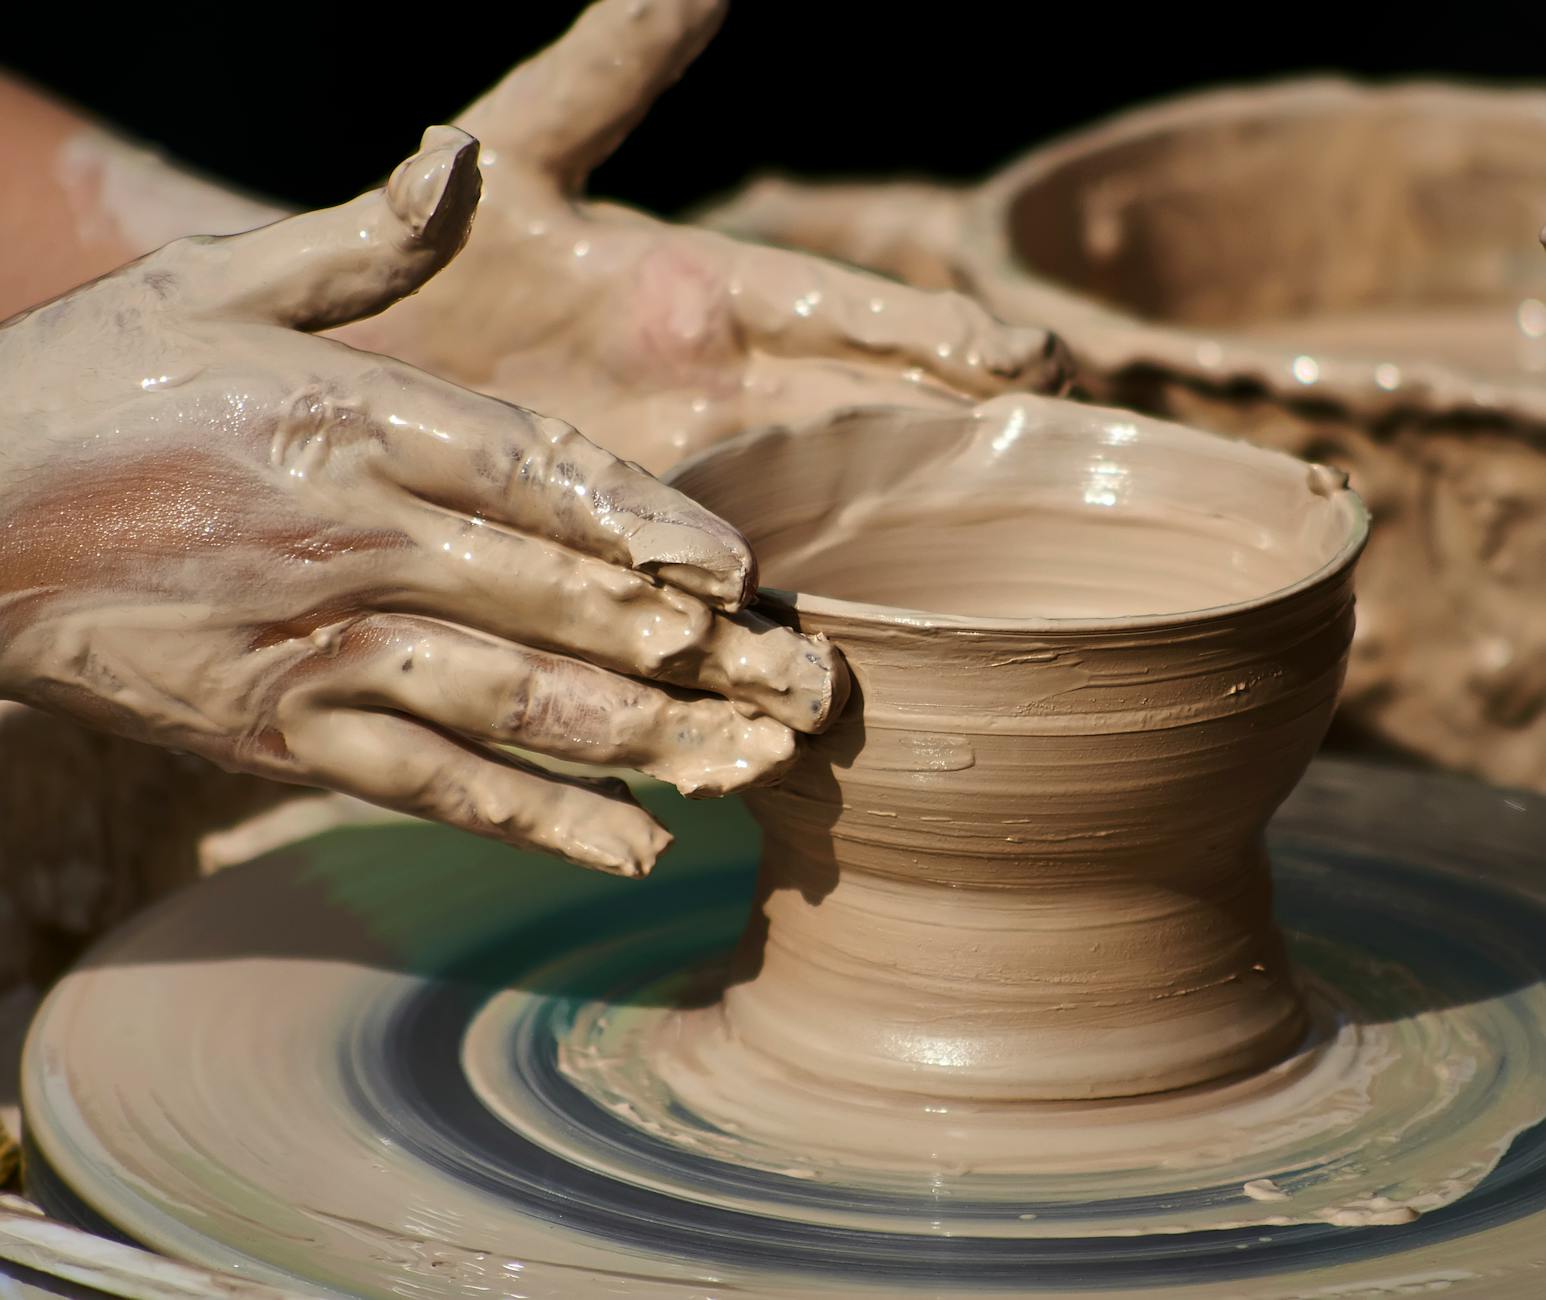
The Practical Potter: Understanding the Differences Between Cone 6 and Cone 10 Firing
Students ask me all the time whether a higher temperature automatically means a better pot. In all my years at the wheel, I have watched eager ceramists stare into the glowing peeping hole of a kiln, waiting for pyrometric cones to bend as if watching a horse race. The wheel doesn't care about your age or your experience—and neither does the physics of vitrification. Pyrometric cones do not measure absolute ambient temperature; they measure heat-work—the combined effect of temperature and time on ceramic materials. As your kiln climbs, silica and fluxes begin a delicate dance, and understanding whether you are aiming for cone 6 or cone 10 changes everything about how your pots behave in the studio and in daily life.
I learned this the hard way, decades ago, when I lost an entire kiln load of stoneware because I assumed a hotter atmosphere would automatically fix a sluggish glaze melt. Clay has a way of teaching you humility through slumped pots and fused shelves. When we talk about cone 6 versus cone 10, we are looking at two distinct realms of ceramic practice, each with its own chemistry, energy footprint, and aesthetic character.
Learn with Stephen — the full course, $49.99 lifetime
8 full-length video lessons, one-time price, 30-day money-back guarantee.
Get the Video Course →Section 1: Introduction to Cone 6 and Cone 10 Firing - A Brief History and Overview
To understand the modern studio landscape, we have to look at how these firing ranges developed. Traditionally, high-fire reduction using cone 10 (roughly 2381°F to 2345°F, depending on the exact cone and soak time) was the gold standard for functional stoneware and porcelain. Studio potters relied on large gas kilns to pull oxygen out of the chamber, coaxing rich, earthy tones from iron-bearing clays and glazes. It is a venerable tradition rooted in historical Asian and European stoneware production.
As studio pottery moved into suburban garages, community centers, and basement spaces, cone 6 (roughly 2232°F) emerged as the practical hero. Electric kilns became more reliable, controller technology advanced, and manufacturers formulated clay bodies and glazes that matured tightly at this lower temperature. Today, the debate over cone 10 vs cone 6 is less about which one is superior and more about matching your studio reality, energy budget, and aesthetic goals to the right thermal target.
Section 2: The Key Differences Between Cone 6 and Cone 10 Firing - Temperature, Chemistry, and More
The most immediate difference is the thermal summit: cone 6 fires around 2200°F, while cone 10 pushes past 2400°F. But temperature is only the surface metric. The real story lies in the chemistry of vitrification—how the glass-forming silica melts and seals the pores of the clay body.
At cone 10, stoneware bodies reach a high degree of vitrification, becoming exceptionally dense, resonant, and durable without relying heavily on added fluxes. The high heat allows certain minerals, particularly raw feldspars and iron oxides, to flux naturally, creating deep interface layers between the clay and glaze.
At cone 6, because the peak temperature is lower, clay bodies and glazes require a bit more chemical assistance. Manufacturers incorporate specific fluxes—such as boron or auxiliary alkalis—to help the glaze melt smoothly and the clay body achieve proper density at the lower heat-work threshold. This does not make cone 6 inferior; it simply means the recipe relies on a different balance of fluxes to achieve structural integrity. For those exploring advanced pottery techniques or setting up a efficient home pottery studio, understanding these chemical distinctions prevents underfired, porous pots that leak water on the kitchen counter.
Section 3: How to Choose the Right Firing Temperature for Your Project - Factors to Consider
Deciding between these two ranges comes down to three practical factors: your equipment, your aesthetic, and your environment.
If you operate out of a home garage with standard residential electrical service, a computerized electric kiln firing to cone 6 is remarkably efficient, programmable, and gentle on your monthly utility bill. It allows for precise ramp-and-hold schedules that help prevent glaze flaws like pinholing or crawling.
Conversely, if you have access to a heavy-duty studio space with proper ventilation and perhaps a gas kiln, cone 10 reduction opens the door to copper reds, flashing effects, and the wonderful serendipity of flame touching clay. Neither choice is a magic solution for poor throwing technique or hasty trimming. A well-centered, evenly walled cylinder will sing whether it is fired in an electric oxidation kiln at cone 6 or a roaring gas reduction kiln at cone 10.
Section 4: Tips and Tricks for Successful Cone 6 and Cone 10 Firing - From Preparation to Post-Firing Care
Success in the kiln room starts long before you press the start button on your controller. Here are a few hard-won practices to keep your firings consistent:
- Always monitor your pyrometric cones on every shelf, not just the top level. Kilns have hot and cool spots, and visual confirmation of heat-work is your best insurance policy.
- Respect the soak. Holding the kiln at peak temperature for ten to twenty minutes (often called a cone-fire hold) allows the heat to distribute evenly and helps glazes heal surface bubbles.
- Keep meticulous firing logs. Note your thermocouple age, load density, and venting schedule. Over time, these notes become your most valuable studio asset.
- For those eager to dive deeper into studio practices, exploring comprehensive pottery video lessons can bridge the gap between textbook theory and practical execution at the wheel.
The clay will always tell you the truth if you are willing to listen. Whether you are adjusting your schedules for cone 6 oxidation or pushing stoneware to cone 10 reduction, treat the firing process as a collaboration with the materials.
If you are looking to expand your technical repertoire and master every stage of the ceramic process from wedge to final cool-down, I invite you to explore the complete video library at jepsonpotteryvideos.com.
Watch Stephen Demonstrate This Technique
Get lifetime access to 8 detailed pottery video lessons — wheel throwing, hand-building, glazing, and more.
Get the Video Course — $49.99 with code I4N4LHE7OL →Learn Pottery from a Master
60+ years of wheel-throwing, hand-building, glazing, and kiln work — now in detailed video lessons you can follow at your own pace.
8 full-length videos · Lifetime access · $149 $49.99 with code I4N4LHE7OL
Photo by igovar igovar • Published October 06, 2026
Learn with Stephen — the full course, $49.99 lifetime
8 full-length video lessons, one-time price, 30-day money-back guarantee.
Get the Video Course →