Jepson Pottery Blog
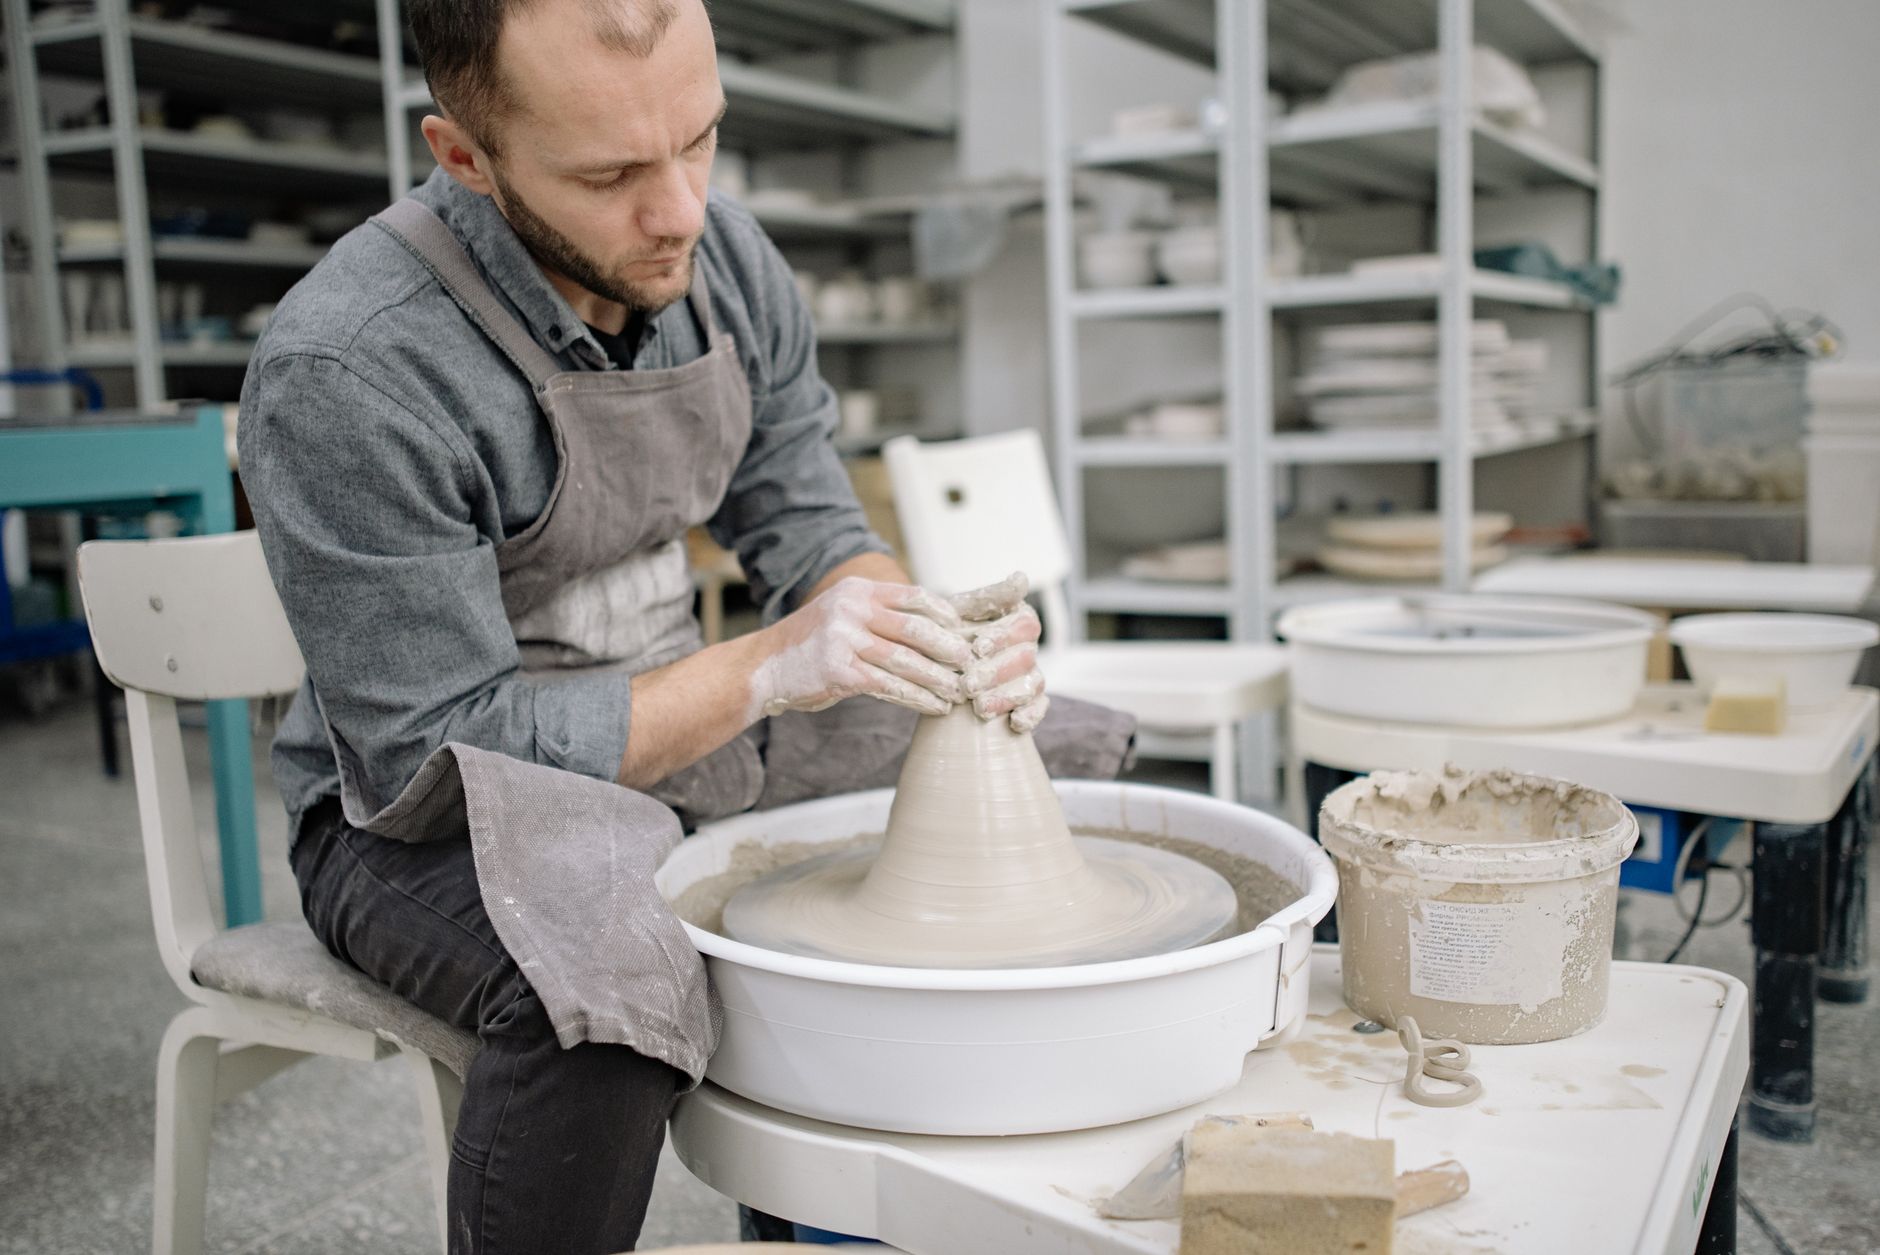
Discovering the Art of Sgraffito on Clay
In all my years at the wheel, I have found that some of the most captivating surface decorations come from the simplest acts of subtraction. Students ask me all the time how to break away from plain glazes and give their vessels a distinct, personal voice. The answer often lies in an ancient, beautiful technique called sgraffito. When you take a sharp tool to a leather-hard pot coated in contrasting color, you are not just decorating; you are drawing with light and shadow directly into the earth.
Learn with Stephen — the full course, $49.99 lifetime
8 full-length video lessons, one-time price, 30-day money-back guarantee.
Get the Video Course →What Is Sgraffito and How Does It Transform Pottery?
The word sgraffito comes from the Italian root meaning "to scratch." In ceramics, the process is wonderfully straightforward yet endlessly forgiving. You apply a layer of colored slip—liquid clay—onto your damp or leather-hard pot, and then you carve through that layer to expose the contrasting clay body underneath.
I learned this the hard way, decades ago, when I tried to rush my timing and carved into clay that was far too wet, turning my crisp lines into muddy trenches. Clay has a way of teaching you patience. The secret to a clean sgraffito line is waiting for the precise moment of leather-hardness, when the surface resists your thumb but yields gracefully to a sharp stylus, curling up fine ribbons of colored slip like wood shavings from a carpenter's plane.
Essential Tools for Your Home Pottery Studio
You do not need an elaborate arsenal of expensive equipment to begin exploring this surface decoration. A few modest tools will open up an entirely new world of design possibilities right in your home pottery studio:
- A flexible rubber rib for applying smooth, even coats of slip.
- A fine needle tool, a trimmed feather quill, or a specialized loop tool for carving varying line widths.
- A soft, damp sponge to clean up stray crumbs of dry clay without smearing your background.
- Brushes for laying down your contrasting slip with confidence.
Whether you are working with a forgiving mid-range body or exploring advanced pottery techniques on denser clay, the tactile feedback of the carving tool moving across the curved belly of a vase is one of the most satisfying sensations in ceramics.
Step-by-Step: Bringing Your Surface Designs to Life
If you want to try this in your studio today, start with a simple cylinder or a rounded bowl thrown from your favorite clay body.
First, prepare your slip. It should have the consistency of heavy cream—not too watery, or it will crack as it dries, and not too thick, or it will flake off the pot. While your thrown piece is still evenly leather-hard, apply your slip using a soft brush or by gently dipping the piece. Apply two or three steady coats to ensure complete coverage over the raw clay body.
Next, sketch your design lightly onto the slip surface with a dull pencil or the blunt end of a paintbrush. Do not worry about perfection. The wheel doesn't care about your age or your experience—it only responds to your attention and presence. Once your design is outlined, take your carving tool and hold it much like you would a fountain pen. Pull the tool toward you, letting the slip part smoothly to reveal the warm, contrasting clay underneath.
Finishing and Firing Your Carved Masterpieces
Once your carving is complete, set your piece aside to dry slowly and evenly under plastic to prevent warping. After the bisque firing, you can leave the carved lines bare and earthy, or brush a clear or softly tinted transparent glaze over the entire piece to pool in the carved grooves, making your linework pop with dramatic depth.
Surface decoration is a journey of continuous discovery, and sgraffito offers a direct link to centuries of artistic tradition. If you are eager to dive deeper into wheel throwing, trimming, and surface design from your own home, I invite you to explore my complete $49.99 lifetime course at jepsonpotteryvideos.com.
Watch Stephen Demonstrate This Technique
Get lifetime access to 8 detailed pottery video lessons — wheel throwing, hand-building, glazing, and more.
Get the Video Course — $49.99 with code I4N4LHE7OL →Learn Pottery from a Master
60+ years of wheel-throwing, hand-building, glazing, and kiln work — now in detailed video lessons you can follow at your own pace.
8 full-length videos · Lifetime access · $149 $49.99 with code I4N4LHE7OL
Photo by Yan Krukau • Published October 14, 2026
Learn with Stephen — the full course, $49.99 lifetime
8 full-length video lessons, one-time price, 30-day money-back guarantee.
Get the Video Course →